 如何让搜索引擎收录我们的博客
# 如何让搜索引擎收录我们的博客
各个网站收录地址 主动向各个搜索引擎提交博客
谷歌博客搜索收录入口: (opens new window) 百度收录入口: (opens new window) 百度博客收录入口: (opens new window) 必应Bing收录入口: (opens new window) 搜索引擎批量提交: (opens new window) soso收录入口: (opens new window) 360搜索引擎登录入口: (opens new window) 搜狗提交入口: (opens new window) 盘古数据开放平台: (opens new window) 简搜搜索引擎登陆口: (opens new window) 雅虎中国网站登录口: (opens new window) 网易有道搜索引擎登录口: (opens new window) 中搜免费登录服务: (opens new window) MSN必应网站登录口: (opens new window) Alexa网站登录入口: (opens new window) TOM搜索网站登录口: (opens new window) 铭万网B2B(必途)网址登陆口: (opens new window) 蚁搜搜索网站登录口: (opens new window) 快搜搜索网站登录口: (opens new window) 汕头搜索登录口: (opens new window) 孙悟空搜索网站登录: (opens new window) 天网网站登陆口: (opens new window) 速搜全球登陆口: (opens new window) 酷帝网站目录提交入口: (opens new window) 快搜网站登陆口: (opens new window) 搜猫搜索引擎登录入口: (opens new window) 泽许搜索网站登录入口: (opens new window) 一淘网开放搜索申请入口: (opens new window)
# 首页title优化
更改index.swig文件\themes\next\layout;
{% block title %} {{ config.title }} {% endblock %}
修改为
{% block title %}{{ config.title }}{% if theme.index_with_subtitle and config.subtitle %} - {{config.subtitle }}{% endif %}{% endblock %}
# 设置站点地图
安装sitemap站点地图自动生成插件
npm install hexo-generator-sitemap --save
npm install hexo-generator-baidu-sitemap --save
在站点配置文件中添加一下配置(_config.yml)
sitemap:
  path: sitemap.xml
baidusitemap:
  path: baidusitemap.xml
在hexo\source中新建文件robots.txt,内容可以参照我的
# hexo robots.txt
User-agent: *
Allow: /

Allow: /archives/
Allow: /categories/
Allow: /tags/
Disallow: /js/
Disallow: /css/
Disallow: /fonts/
Disallow: /vendors/

Disallow: /categories/


Sitemap: https://123love123.github.io/sitemap.xml

Sitemap: https://123love123.github.io/baidusitemap.xml
这个文件会随着每次修改配置文件而修改
# 百度链接优化
百度站长平台sitemap提交是邀请制的,并没有对所有站长开放,只有网站到一定等级百度才会在你后台开放提交sitemap的入口。
1.站点验证
 百度搜索引擎提交入口 (opens new window)
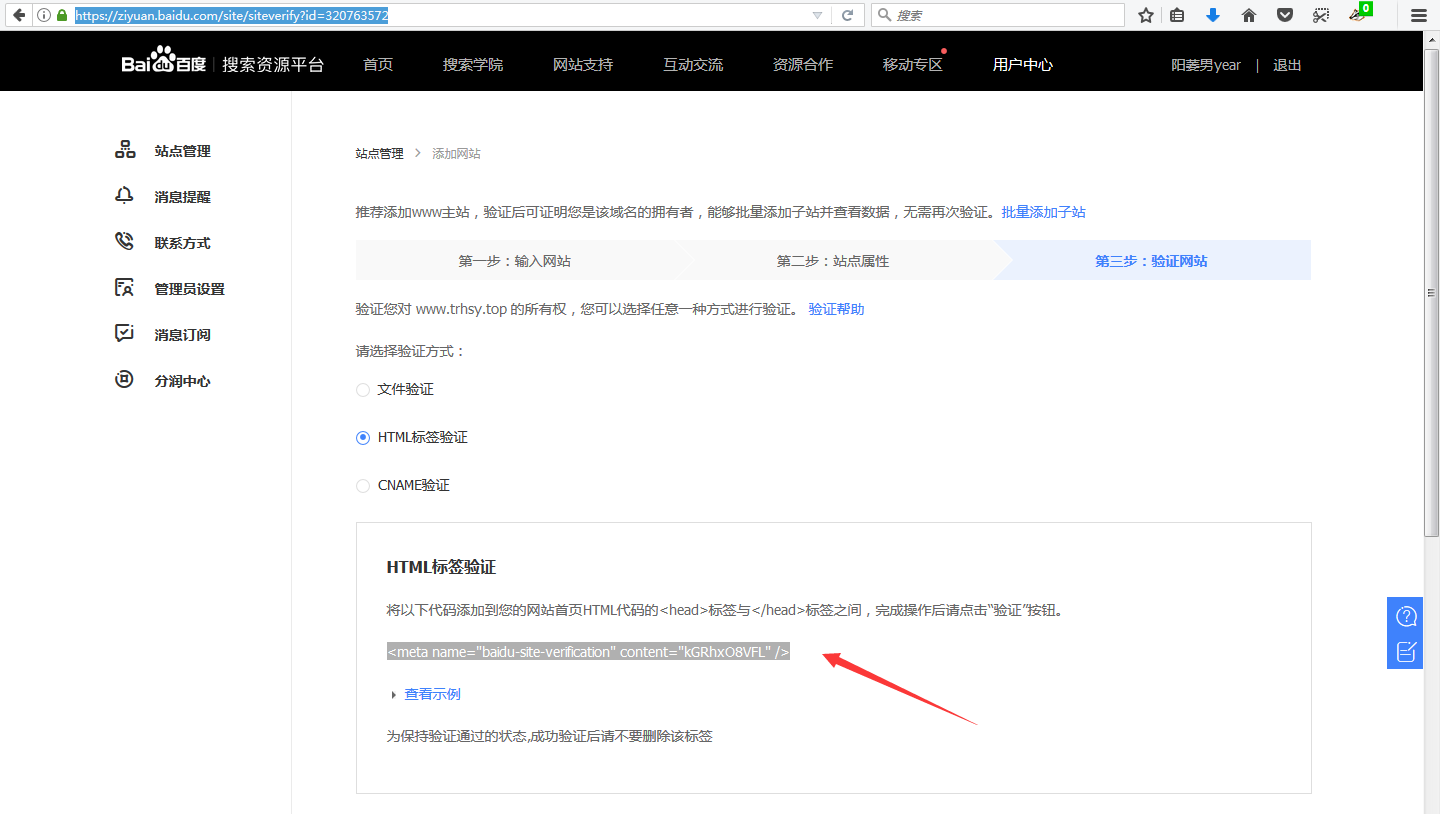
百度搜索有三种验证方式,我选择Html标签验证,在themes\next\layout\_partials\head.swing中添加验证代码:
<!--百度链接优化-->
<meta name="baidu-site-verification" content="kGRhxO8VFL" />
# 谷歌链接优化
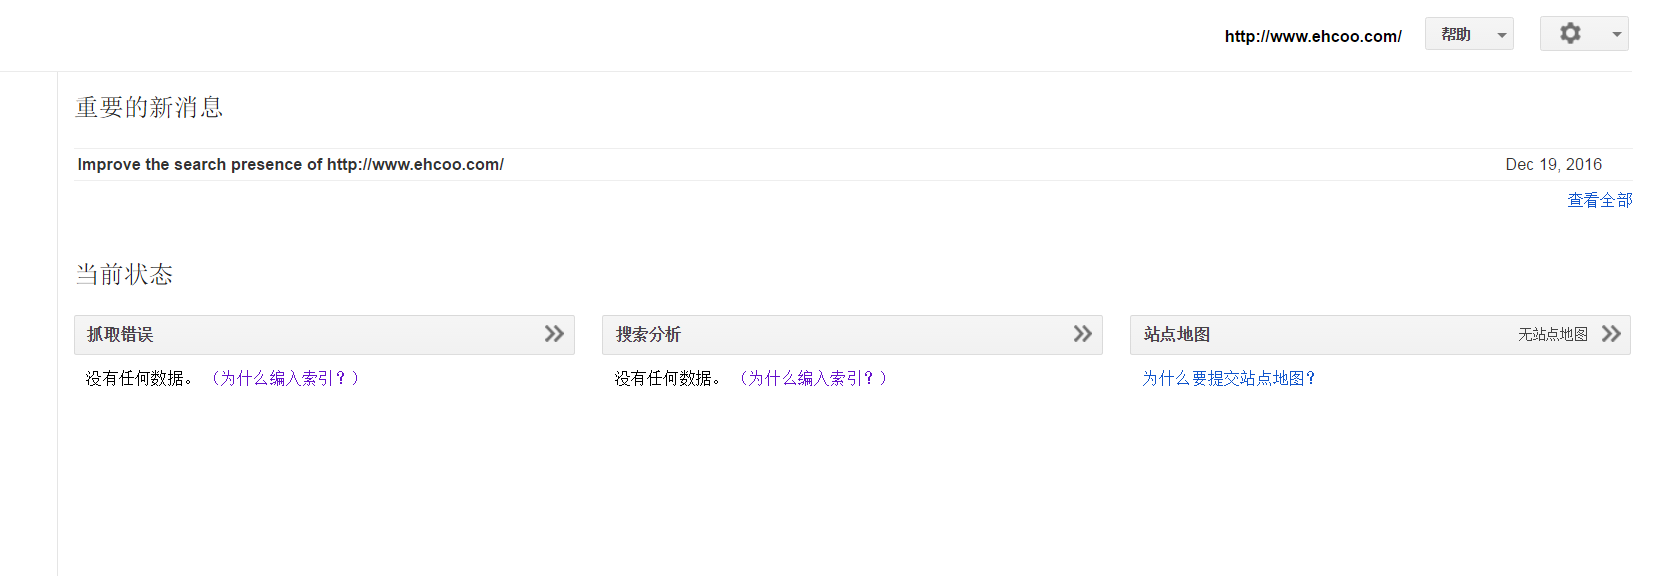
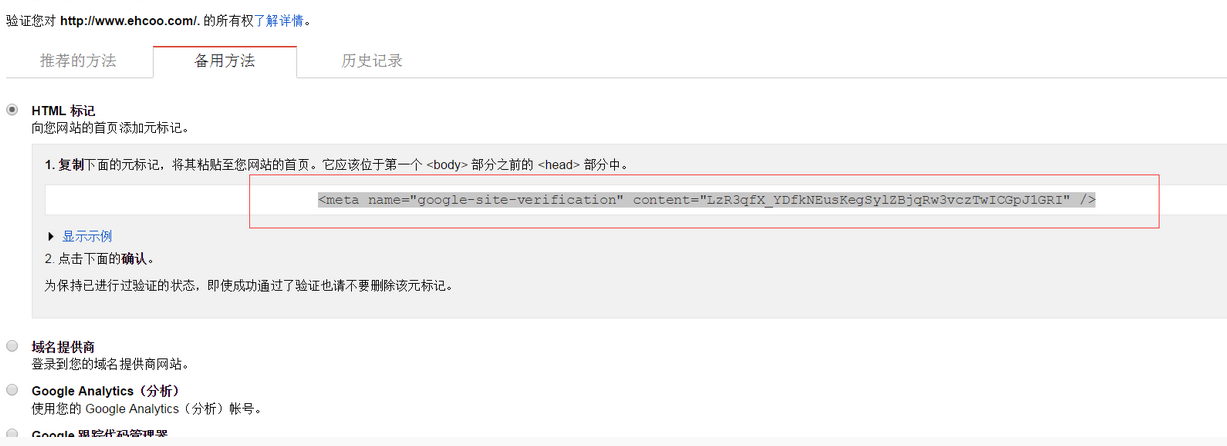
注册Google Search Console (opens new window),添加你的域名后
 进行站点验证,验证的方式和百度的方式相同

# 设置关键字
在博客根目录下找到 config.yml 文件,在所示地方添加keywords: 关键字1,关键字2,关键字3…,采用英文逗号隔开,注意keywords与关键词之间的空格
trhsy,她如花似玉,範範的博客,嫣然De小店,java,hexo,git
# 添加 “nofollow” 标签
\themes\next\layout_partials\footer.swig文件中以下代码修改
rel="external nofollow"
rel这个属性它有许多的属性值,比如next、previous,、chapter、 section等等,比较常见的是rel=”external nofollow”与rel=”nofollow”两种参数的应用!
rel=”nofollow”属性是谷歌为了应对垃圾链接而引入的一个属性值,被各大搜索引擎引用!rel=”external nofollow”只是更相对于rel=”nofollow”参数更加规范一些而已!
rel=”external nofollow”与rel=”nofollow”其功能就中文译文”不要读取” 及”外部链接不要读取”的意思!
{ __('footer.powered', '<a class="theme-link" target="_blank" href="http://www.trhsy.top" rel="external nofollow">trhsy</a>')
<a class="theme-link" target="_blank" href="https://shop155378470.taobao.com/" rel="external nofollow">
<a href="{{ link }}" target="_blank">{{ name }}</a>
->
<a href="{{ link }}" target="_blank" rel="external nofollow">{{ name }}</a>
<a href="https://creativecommons.org/{% if theme.creative_commons === 'zero' %}publicdomain/zero/1.0{% else %}licenses/{{ theme.creative_commons }}/4.0{% endif %}/" class="cc-opacity" target="_blank">
->
<a href="{{ link }}" target="_blank" rel="external nofollow">{{ name }}</a>
<a href="https://creativecommons.org/{% if theme.creative_commons === 'zero' %}publicdomain/zero/1.0{% else %}licenses/{{ theme.creative_commons }}/4.0{% endif %}/" class="cc-opacity" target="_blank" rel="external nofollow">
如果本文对您有所帮助,请打赏给我吧,我先送个你也红包往下看,你可以把扫到红包打赏个我哦!

